free website stats program Winter Seat Project | Page 2 | Harley Davidson Forums

Winter Seat Project

Thanks a heap for the suggestions.
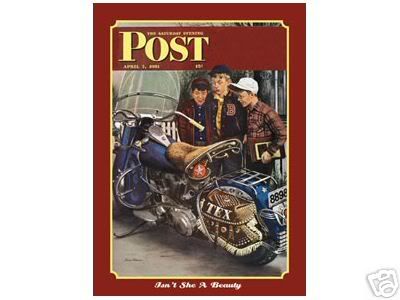
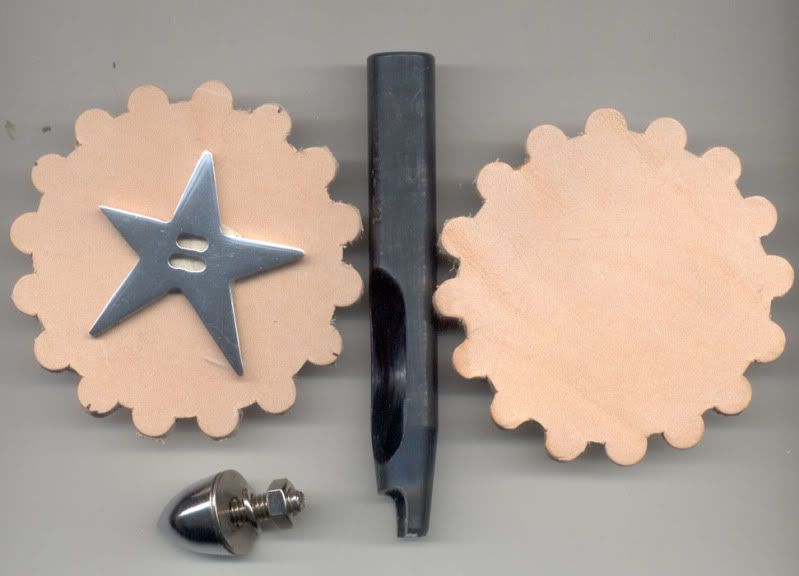
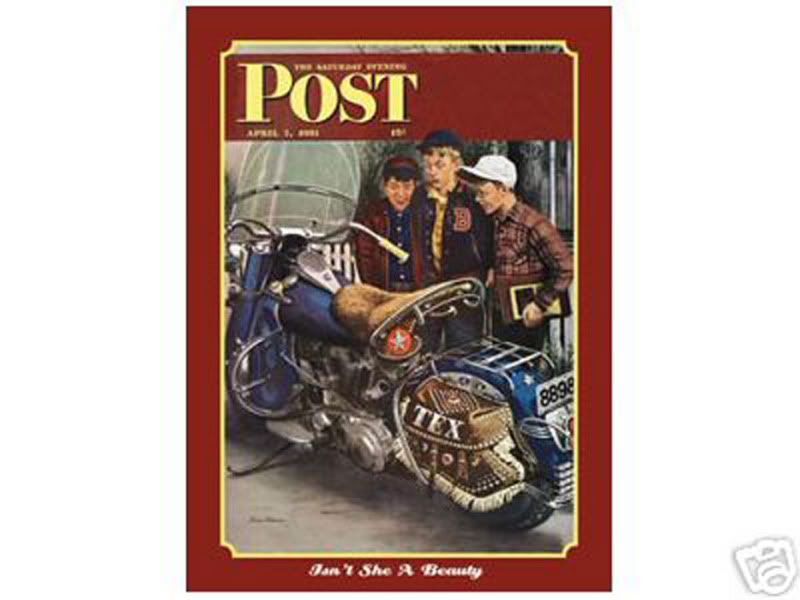
I always wondered if this image from a 1951 Saturday Evening Post helped to "enhance" the interest in the "star" embellishment?
Until now I hadn't put the TEX, and the "star" together.:small3d023:
I'm a midwesterner, barely housebroke.
Saturdayeveningpost.jpg


I'm hoping this will be a better images.:newsmile047: rkw
Tex-Harley.jpg
 
Last edited by a moderator:
For anyone following this thread...I could not find the right size stars or the right size rosettes I needed: In order to make the nostalgic red leather rosettes, I bought a new 3/8 in. diameter Osborne leather punch. Then I ground the cutting end edge away by 50 percent. I cut a piece of leather round, then I used this altered punch to punch around the edge to give my rosettes detail. The Stars were handcut from alumnium plate then polished. The star will be attached to the rosette by the bullet head bolt. Tomorrow I am going to use a special leather red paint to color the rosettes, as well as dye the seat outer skirt. And start making my fringe. I'm hoping that all will be done by the end of the week...huff puff....:small3d023:

Who said you could not put something other than paper or photos on a computer scanner and scan them....:s
rosettes.jpg
 
An expert Master Leathercrafter has mentored me to change the design of my rosettes. Here is the change. Two of these were still wet when they were scanned. They will be painted red with a shiny 2 inch star in the center. Also each scallop will have a chrome spot about 3/16 " in diameter attached. As I have said before these will go on the skirting proper.
(making progess, and learning along the way)
Three-Rosettes.jpg


I am using the better manufactured stars at the top to put on my rosettes. These stars are polished cast aluminum. I found these in an antique mall in a box of junk, they were painted gold. I removed the paint and hand worked the casting imperfections out, then buffed them shiny. The stars at the bottom of this image will be discarded.
I searched high and low trying to find new stars such as this, but my attempts were vain. Hence, I am so thankful that I stumbled onto these starts at the antique mall.:)
star-2.jpg
 
Last edited by a moderator:
Had to put this on the back burner...but now I am making progress. Still got a bit more to do.
(Golly I hope I got this sized right:small3d023:)
Deluxe-Seat-1.jpg


-------------------------------------------------------------------------

Is this the proper size?:small3d023:
Deluxe-Seat.jpg


--------------------------------------------------------------------------

Better view of "sitting" surfaces.
Deluxe-Sufaces.jpg
 
Last edited by a moderator:
Randall, it takes a lot of fabricating of these details before you go to last step of "final assembly". The final assembly requires a commercial sewing machine. My good friend Elwood Yadon did the final assembly on my behalf. As I have said before, I still intend on adding a few more embellishments on this seat! Randall
Deluxe-Seat-Details.jpg
 
That is a nice job, wow u have it all together great pictures, Id give that 3 thumbs up:D
 
Back
Top