This installation was done and documented by Joyflyin
Okay folks, the motorcycle monster is at it again. I did some shopping around for an easy pull clutch and I decided to go with the Clutchlite version. I looked at the one from harley, the one by burley, and the clutchlite version. I went with this choice for a few reasons. It was stocked by a local independent service place, highly recommended, I could touch it and feel it, (I don't like buying stuff with out seeing it first), and the big deciding factor for me was that this unit looked like the easiest to install. So, here's my story on this project:
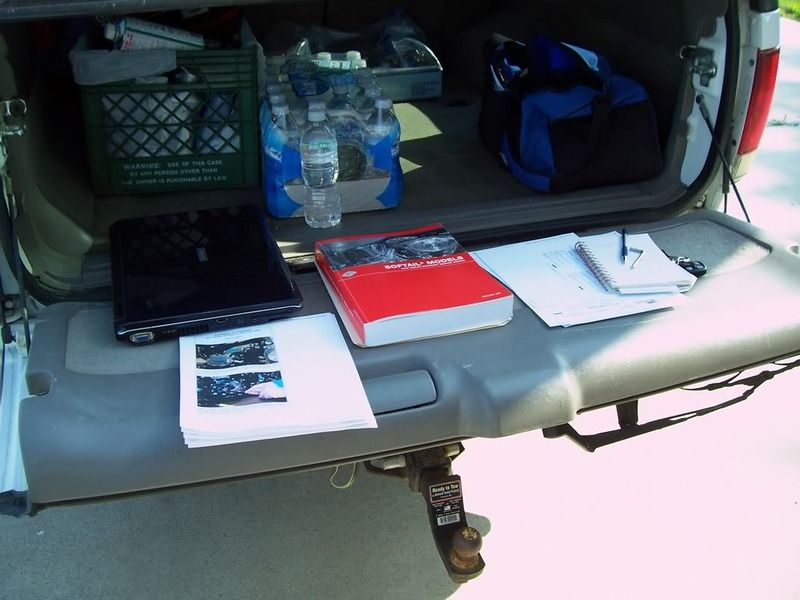
I gather up the manual & everything I could print on the project. Keep the laptop handy for emergencies. (Thanks Mr. Data).
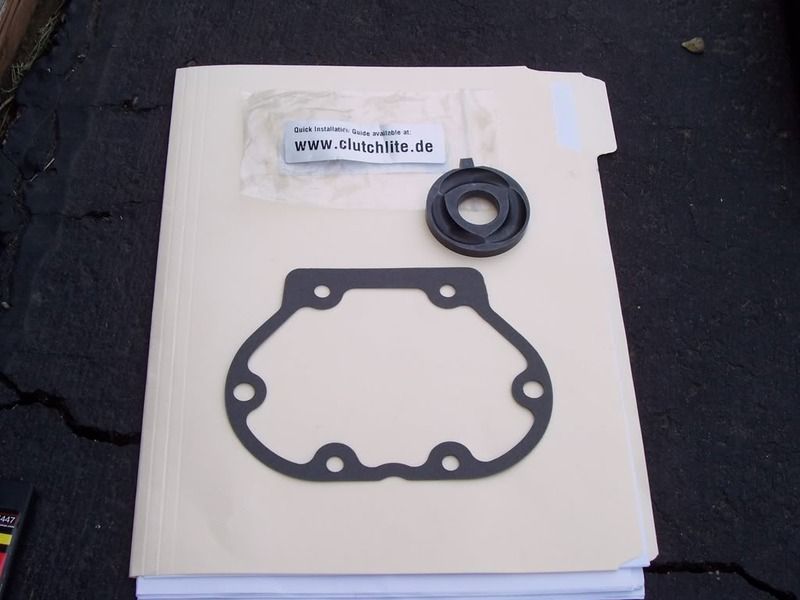
Here is the new part & gasket.
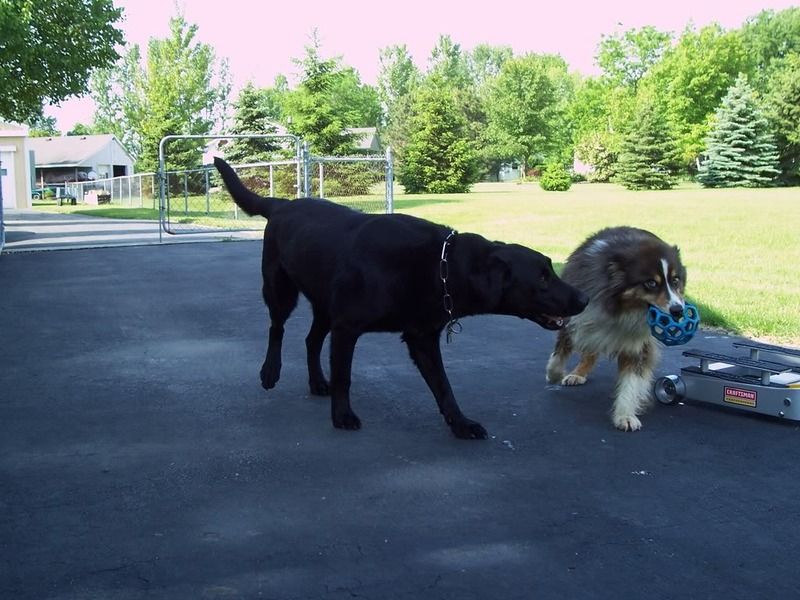
My help. Just insert throw ball for dogs any where, any time. Or be ready for the lab to come up & show you how much he loves you with a big Marmaduke lick. :rofl
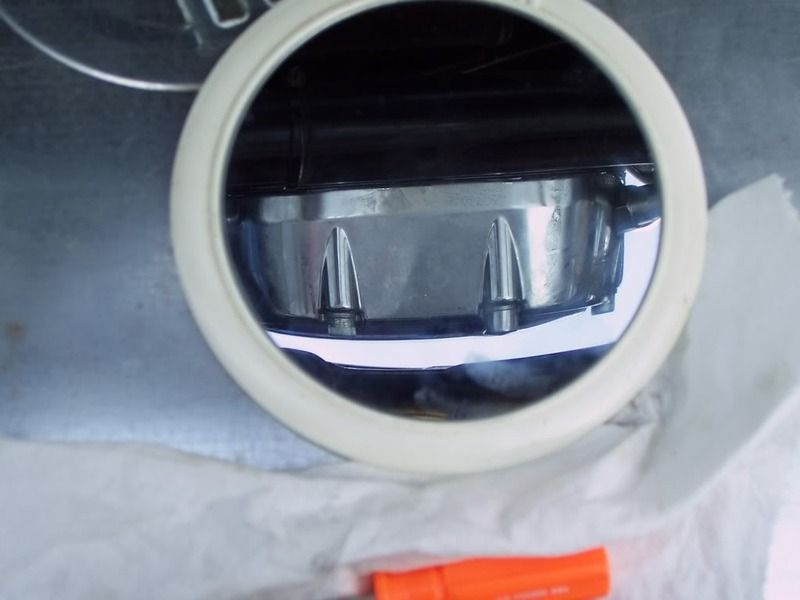
My mirror for hard to see places.
I make my special tool with the allen wrench and it sort of works. I ran into a problem, since there isn't much room between the pipes & the transmission cover I was near a panic attack. I could loosen the bolts enough to move them, but the 2 center bolts just wouldn't clear with the pipes. I tried every thing, but no luck. I ended up taking the heat shield off, then realized that removing the pipes was going to be more involved than I wanted. So I grab the laptop, thrilled to see that Mr. Data was online and answering my cries of help. I got him this picture to show him my dilemma.
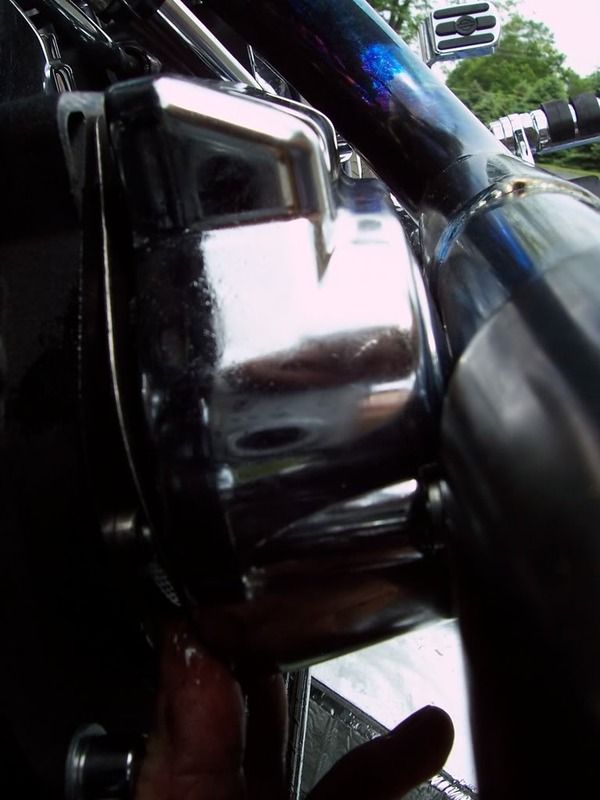
Here's another shot.
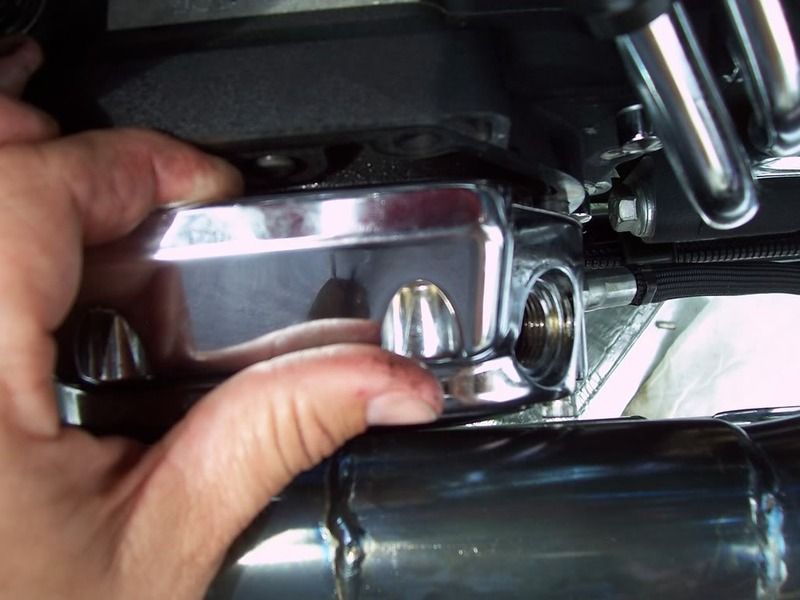
He agreed, I didn't need much so he recommended just loosening the pipes. Knowing what I know now, I'd do that in a heartbeat! I also was to the point of a real panic attack, I have never had my bike in so many pieces. I decided to take a little break so I jumped in the blazer & ran down to the local independent guys and beg for mercy. They showed me where to loosen the pipes to get the extra space I needed. Thanks guys I did a lot of extra work before resorting to help.
So, I did get the cover off. I remembered to take a picture before I did anything so I could refer to it when reassembling everything.
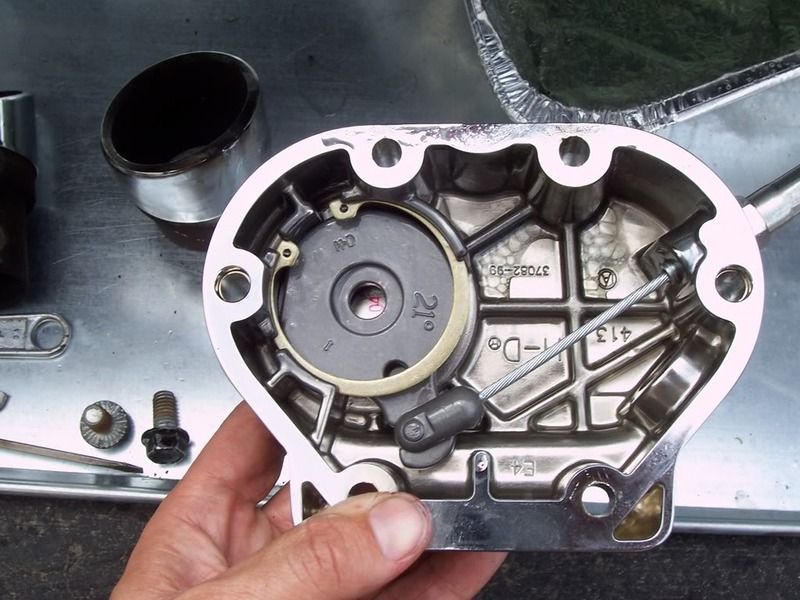
I can't say that the project went without a hitch..... After getting it all apart, I had to fight with the snap ring pliers. We may have more tools than Sears, but I could only find on set, probably good ones, but not much help to me and since I couldn't figure them out as to how to change them to work with me, but I got it done.
The most amazing part to me is that I got everything back together, no left over parts or anything. I have a before the project picture and after, but I will have to get them later. somewhere in my frustration the camera got switched to the internal memory, and since it is officially a work camera, that cable is at work..:s I will get them and post them too. It's kind of funny, it sort of looks like something blew up. LOL
Now, for the really good news, it appears that I have gotten the clutch cable adjusted properly. And the best part is the clutch is really easier. I think it will make a big difference after a long day of work and stop & go traffic situations.
Boy, have I come a long way in 5 months. It just goes to prove that the general rider can do a lot more than just ride. I am by no means a mechanic, but I do know a little bit about tools, and I worked on my bicycles when I raced them. That's about it. So, know your limits, don't get in too far over your head, do your homework and give it a go!
By the way, looking back I don't regret doing this, but there was a time yesterday that I was wondering if I could push the bike into the trailer, pick up the pieces an haul it in, or pay some one to do a house call.
Note: It might be pointed out here that Joy does not have stock exhaust on this bike.
Here's the clutchlite product page Clutchlite - »easy to pull« clutch
Okay folks, the motorcycle monster is at it again. I did some shopping around for an easy pull clutch and I decided to go with the Clutchlite version. I looked at the one from harley, the one by burley, and the clutchlite version. I went with this choice for a few reasons. It was stocked by a local independent service place, highly recommended, I could touch it and feel it, (I don't like buying stuff with out seeing it first), and the big deciding factor for me was that this unit looked like the easiest to install. So, here's my story on this project:
I gather up the manual & everything I could print on the project. Keep the laptop handy for emergencies. (Thanks Mr. Data).

Here is the new part & gasket.

My help. Just insert throw ball for dogs any where, any time. Or be ready for the lab to come up & show you how much he loves you with a big Marmaduke lick. :rofl

My mirror for hard to see places.

I make my special tool with the allen wrench and it sort of works. I ran into a problem, since there isn't much room between the pipes & the transmission cover I was near a panic attack. I could loosen the bolts enough to move them, but the 2 center bolts just wouldn't clear with the pipes. I tried every thing, but no luck. I ended up taking the heat shield off, then realized that removing the pipes was going to be more involved than I wanted. So I grab the laptop, thrilled to see that Mr. Data was online and answering my cries of help.

Here's another shot.

He agreed, I didn't need much so he recommended just loosening the pipes. Knowing what I know now, I'd do that in a heartbeat! I also was to the point of a real panic attack, I have never had my bike in so many pieces. I decided to take a little break so I jumped in the blazer & ran down to the local independent guys and beg for mercy. They showed me where to loosen the pipes to get the extra space I needed. Thanks guys
So, I did get the cover off. I remembered to take a picture before I did anything so I could refer to it when reassembling everything.

I can't say that the project went without a hitch.....
The most amazing part to me is that I got everything back together, no left over parts or anything. I have a before the project picture and after, but I will have to get them later. somewhere in my frustration the camera got switched to the internal memory, and since it is officially a work camera, that cable is at work..:s I will get them and post them too. It's kind of funny, it sort of looks like something blew up. LOL
Now, for the really good news, it appears that I have gotten the clutch cable adjusted properly. And the best part is the clutch is really easier. I think it will make a big difference after a long day of work and stop & go traffic situations.
Boy, have I come a long way in 5 months. It just goes to prove that the general rider can do a lot more than just ride. I am by no means a mechanic, but I do know a little bit about tools, and I worked on my bicycles when I raced them. That's about it. So, know your limits, don't get in too far over your head, do your homework and give it a go!
By the way, looking back I don't regret doing this, but there was a time yesterday that I was wondering if I could push the bike into the trailer, pick up the pieces an haul it in, or pay some one to do a house call.
Note: It might be pointed out here that Joy does not have stock exhaust on this bike.
Here's the clutchlite product page Clutchlite - »easy to pull« clutch
Last edited:
