free website stats program Rocker removal for DIY powder job. | Harley Davidson Forums

Rocker removal for DIY powder job.

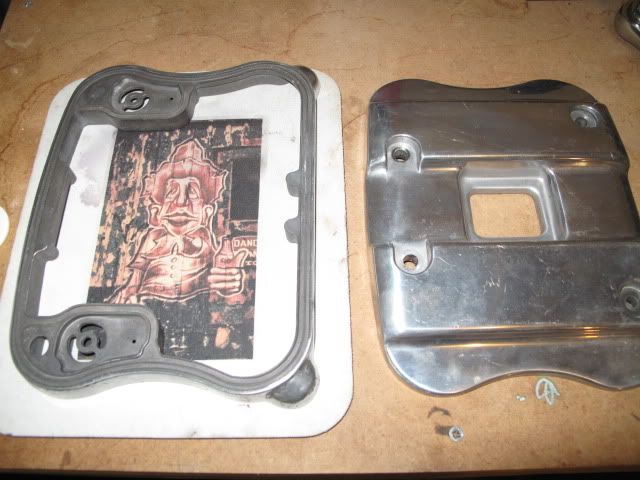
Got a lil brave and decided it is time to PC my rocker box covers. Got the powder in today. Black Magic on the upper and lower pieces, and S&S wrinkle on the mids. If this goes well I might attempt to remover the top heads and do them wrinkle also.

I have no special tools, just avg shop stuff.
Have my manual at the ready.
I don't need anything popping out and flying away.

Can I get all rocker pieces with ease?
Is the top head difficult?
What parts will I have to replace if any?
All seals are new, from early summer. Not ran. Will I still have to replace them? Some say yes, some say ehhh. Wish me luck!


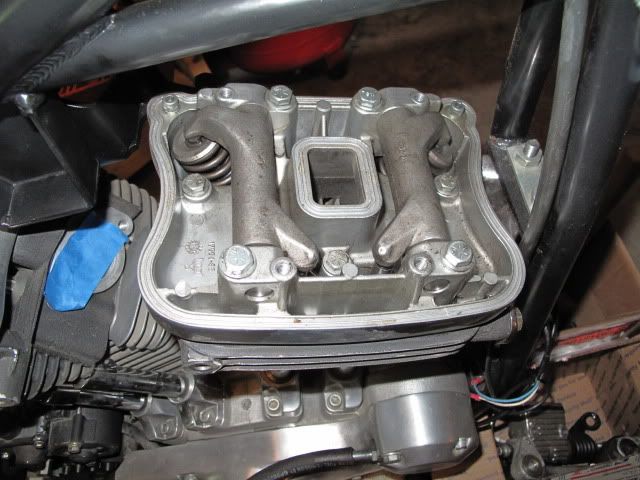
^^^ this is what happens when you DIY a fin-job.


MAX size for pics is 800 X 600. Oversize pics will be removed.
 
Last edited by a moderator:
I wish I had more knowledge on the sporty engines. If you were working with a twin cam I could help you alot more. I changed my rockers a few months ago and it was much easier than I expected. The only advice I can give you with your project is I would personally replace the gaskets. Even if they are new consider it a cheap investment to prevent you from doing the whole project over again. Imagine getting the whole thing buttoned up and having to tear it all apart again for a leaking gasket. When in doubt...replace!

Good Luck
 
You do know that the rocker arm assembly's have to come out to get to the bottom rocker box? Not difficult.
As for reusing the gaskets, ehhhhh. They haven't seen heat cycles, but have been compressed/pinched tight. The worst that can happen is a leak, and you have to take it down again. :D
 
You do know that the rocker arm assembly's have to come out to get to the bottom rocker box?

Yeah. just didn't prepare myself enough I guess. Also if I go that far im guna have to get the top heads done too. Was not sure how much the rods, etc would be in play as I have never done this myself obv.

The assembly pins pretty easy to get in and out?

Obv knew the seals answer, just didn't wana:newsmile04: hear it. Bummer. Bright side, I'll go ahead and do the primary and cam covers too I guess.

Taking lots of pics for a step by step. Hope to knock out the rockers today.
 
Get yourself a set of James gaskets and don't use the wifes oven for baking the powder coat.
Ken
 
I refreshed my browser about 8 times over about 20 minutes+ and they were still too large.

Now the top one is 1,024px × 768px and it was smaller before.
 
The assembly pins pretty easy to get in and out?
Bright side, I'll go ahead and do the primary and cam covers too I guess.

I don't understand the "assembly pins" ?

Good idea on the cam cover. Remember to re-install the cam cover before you the rocker assembly, as the cams rely on the cover for centering.
 
I refreshed my browser about 8 times over about 20 minutes+ and they were still too large.

Clear cache maybe? They were and are all still 640 on my PC and PB as pictured.


I don't understand the "assembly pins" ?

Good idea on the cam cover. Remember to re-install the cam cover before you the rocker assembly, as the cams rely on the cover for centering.
Rocker arm shafts/ retaining bolts. Not so sure if I can do the heads? Does it just look more daunting than it is? Think I am stuck at valve spring removal.

Test?!


these should work? ditch all the clutter? sorry
 
Last edited by a moderator:
.
Rocker arm shafts/ retaining bolts. Not so sure if I can do the heads? Does it just look more daunting than it is? Think I am stuck at valve spring removal.

The valve springs don't come off. Bottom rocker boxs are a close fit around the valve and spring. The rocker shafts are notched for the bolts, ez slip in and out. Just use your manual and camera. I also use a sharpie to make aligning marks or "A" to "A", "B" to "B" type references as I tend to forget which was where.
 
Back
Top