Here's a tip on installing the stage 1 kit on a sportster posted by our very own Hobbit when he did the upgrade on his sporty.
OK, we all know that making the bike breathe better makes it run better and release the power that the EPA/EU do not want us to have.
You have seen the install for the Pipes to get the exhaust gas out faster now lets get the air in faster and contrary to popular belief the SE kit is one of the best out there specially if fitted with a K&N filter.
Fitting is a simple job taking no more than 30 minutes and using basic tools - issues come when you are rejetting the carb - as mine was already done I have not altered it.
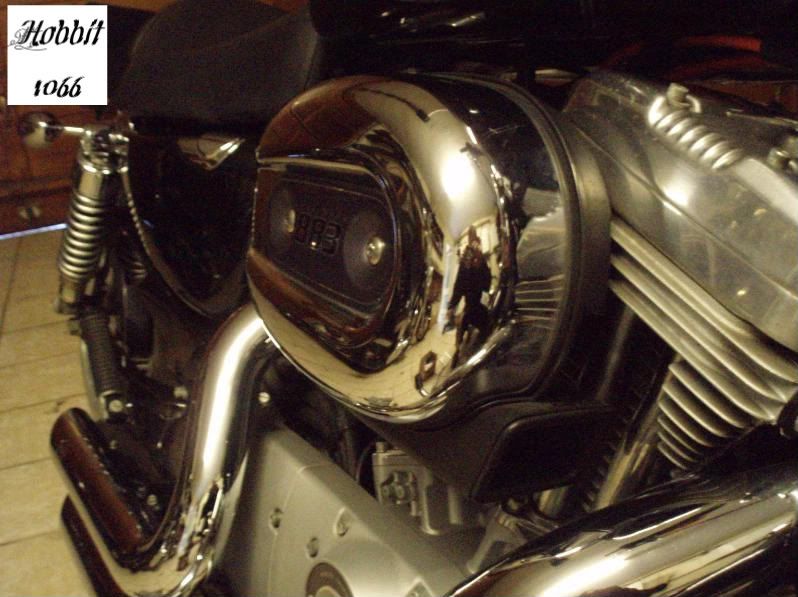
From this
To this
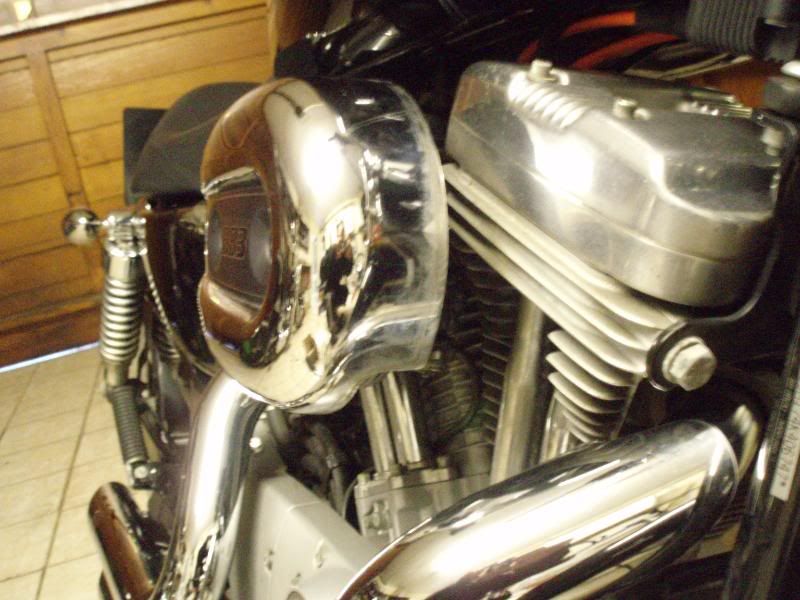
I know it does not look much different but it is.
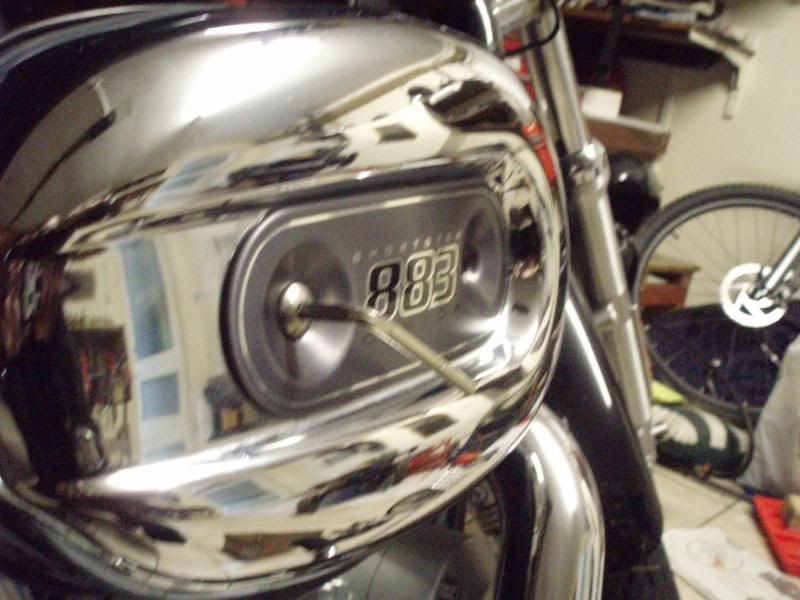
After removing the Chrome Ham can (1) you get to see the restrictive filter (2) and once this is off you would normally see a huge black plastic backing plate(3) (mine has had most of the back removed to get more air in)
1
2

3

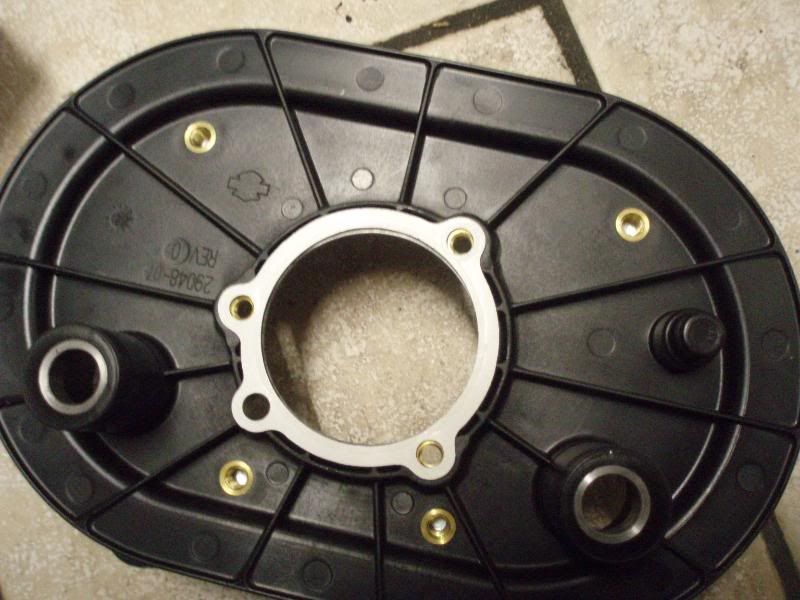
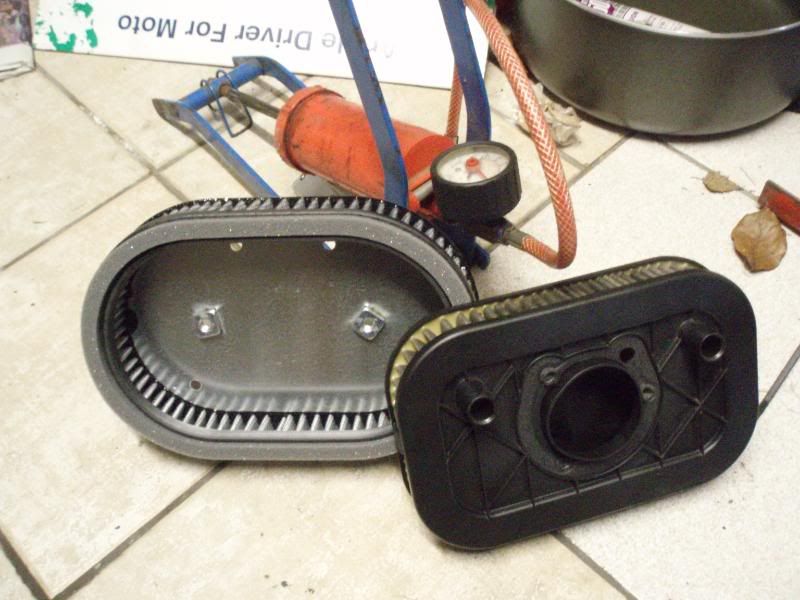
Once the carb screws and breather bolts are removed it all comes off, the old filter only normally allows air in through the snorkel at the bottom and you can see the difference in size and lack of snorkel on the SE back plate in this picture on the left.

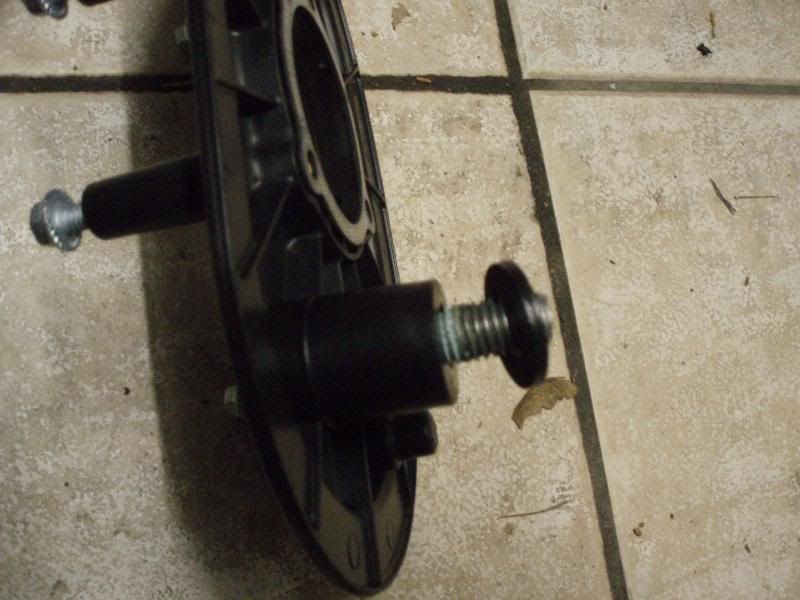
You then remove the black original from the breather and feed them through the new back plate and put the black alloy spacer between it and the head after putting the new gasket on the back and then offer it up to the bike making sure all the holes line up.
New gasket in place here
Breather with spacer in place
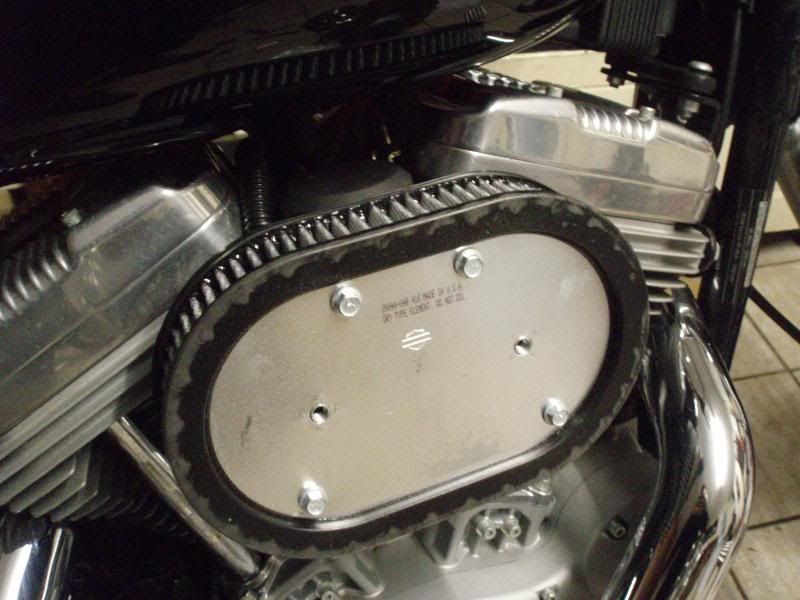
Installed on the bike

You then add the little black horse shoes to the breathers and point them into the carb throat (not shown)
then put on the new SE filter (cheap skate did not buy the K&N yet)
You can see the difference in size between old and new filters below.
Filter Insatlled
Then fit the alloy spacers to the back on the Ham Can
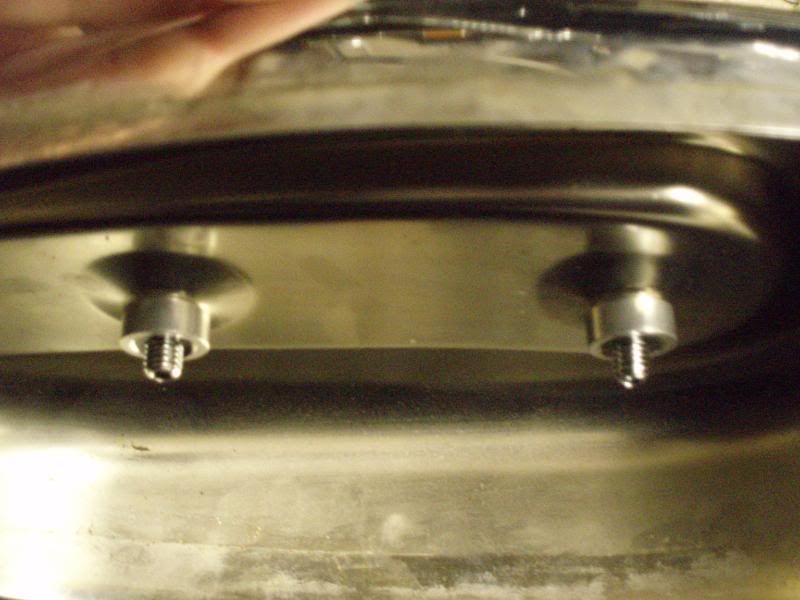
The rubber spacer on the filter shown here

Put the Ham can back on at this point you can either put the original filter embellishment or the new SE one.
I chose the original and thats all there is to it.
NOTE
If you do not have a rejetted carb this will cause your bike to run lean and result in damage unless you know what you are doing either fit a SE jet kit or i hate to say it a DYNO jet kit to get good results, if you have FI get it remapped by HD or add a fueler for fuel enrichment.
Now go ride and relish in the new power your bike has from its new pipes and filter.
OK, we all know that making the bike breathe better makes it run better and release the power that the EPA/EU do not want us to have.
You have seen the install for the Pipes to get the exhaust gas out faster now lets get the air in faster and contrary to popular belief the SE kit is one of the best out there specially if fitted with a K&N filter.
Fitting is a simple job taking no more than 30 minutes and using basic tools - issues come when you are rejetting the carb - as mine was already done I have not altered it.
From this
To this
I know it does not look much different but it is.
After removing the Chrome Ham can (1) you get to see the restrictive filter (2) and once this is off you would normally see a huge black plastic backing plate(3) (mine has had most of the back removed to get more air in)
1
2
3
Once the carb screws and breather bolts are removed it all comes off, the old filter only normally allows air in through the snorkel at the bottom and you can see the difference in size and lack of snorkel on the SE back plate in this picture on the left.
You then remove the black original from the breather and feed them through the new back plate and put the black alloy spacer between it and the head after putting the new gasket on the back and then offer it up to the bike making sure all the holes line up.
New gasket in place here
Breather with spacer in place
Installed on the bike
You then add the little black horse shoes to the breathers and point them into the carb throat (not shown)
then put on the new SE filter (cheap skate did not buy the K&N yet)
You can see the difference in size between old and new filters below.
Filter Insatlled
Then fit the alloy spacers to the back on the Ham Can
The rubber spacer on the filter shown here
Put the Ham can back on at this point you can either put the original filter embellishment or the new SE one.
I chose the original and thats all there is to it.
NOTE
If you do not have a rejetted carb this will cause your bike to run lean and result in damage unless you know what you are doing either fit a SE jet kit or i hate to say it a DYNO jet kit to get good results, if you have FI get it remapped by HD or add a fueler for fuel enrichment.
Now go ride and relish in the new power your bike has from its new pipes and filter.